What You Need Before Starting
Before embarking on the Tevo Tarantula WiFi setup, it’s crucial to gather all necessary components and information. This ensures a smooth and efficient setup process, minimizing potential frustrations. First and foremost, you’ll need your Tevo Tarantula 3D printer itself, along with the power supply that came with it. Ensure the printer is assembled according to the manufacturer’s instructions and is in good working order. You will need a WiFi-enabled device such as a computer, laptop, tablet, or smartphone. This device will be used to configure the printer’s WiFi settings. Make sure your home or office network is broadcasting a 2.4 GHz WiFi signal, as the Tevo Tarantula WiFi module typically only supports this frequency. Also, make sure to have your WiFi network’s name (SSID) and password handy, as these are essential for connecting the printer to your network. Finally, you might need a USB cable for the initial setup, depending on the method you choose to configure the WiFi settings. By gathering these items beforehand, you’ll be well-prepared to begin the setup process.
Setting Up the Hardware for Tevo Tarantula WiFi
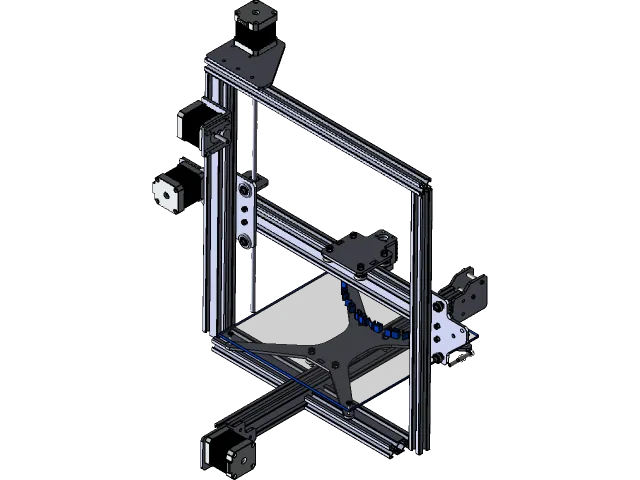
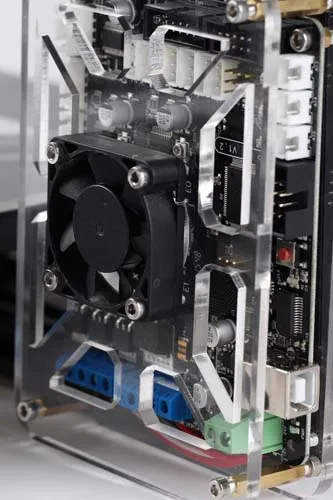
The initial hardware setup for Tevo Tarantula WiFi involves ensuring all physical connections are correctly made. Begin by carefully inspecting your printer and its components. The Tevo Tarantula should be properly assembled and connected to its power supply. Ensure that all the cables are securely connected to the printer’s control board, stepper motors, and heated bed. Double-check that the power supply is providing the correct voltage to the printer. If you have a WiFi module or adapter that needs to be installed, follow the manufacturer’s instructions for attaching it to the printer’s control board. This might involve plugging it into a specific port or connecting it via a USB interface. Once the hardware is connected and the printer is powered on, you should see the printer’s LCD screen displaying information or, if it’s a newer model, the touchscreen interface should be active. At this stage, ensure your printer is receiving power and is ready to connect to your WiFi network. This preparation is crucial before you proceed to the next step, which involves configuring the WiFi settings to enable wireless communication.
Connecting the Tevo Tarantula to Your Network

Connecting your Tevo Tarantula to your home network is a key step in enabling WiFi functionality. This process varies slightly depending on the printer’s control board and the WiFi module used. Generally, you’ll access the WiFi settings through the printer’s LCD screen or touchscreen interface. Look for a menu option that allows you to configure network settings. Usually, the printer will scan for available WiFi networks in your vicinity. Select your home network from the list of available networks. You will then be prompted to enter your WiFi password. Use the printer’s control interface to carefully input your network password. Make sure that you enter the password exactly as it appears. After entering the password, the printer will attempt to connect to your network. The printer’s display screen should show its current network connection status. Verify that the printer is successfully connected to your network. If the connection fails, double-check your password and network settings. If all is well, the printer will be assigned an IP address on your local network. This IP address is important for accessing the printer over WiFi. Ensure that the connection status shows the successful connection.
Configuring the Tevo Tarantula’s WiFi Settings
Once the Tevo Tarantula is connected to your network, the next step involves configuring the WiFi settings to ensure smooth operation. This involves confirming the printer’s IP address and other relevant network parameters. Check the printer’s menu to locate the network settings or information section. Here, you should find the printer’s IP address, subnet mask, gateway, and possibly DNS server details. Note down the printer’s IP address, as you’ll need it to connect to the printer wirelessly from your computer or other devices. You might need to configure the printer’s port settings. Commonly, the printer communicates over port 80 or 5000, but this might vary depending on the firmware and configuration. If your printer uses a web interface, you can access it by entering the printer’s IP address into a web browser on a device connected to the same network. Within the web interface, you can often view and adjust various settings related to the printer, including WiFi configuration. Ensure the settings are properly saved, and then try to connect to the printer through your slicing software, like Cura or Simplify3D, by providing the printer’s IP address and port number. This step is crucial for a seamless wireless printing experience. Verify that the printer’s settings are saved and accessible, enabling you to control it remotely.
Testing the WiFi Connection
After configuring the WiFi settings, the most important step is to test the connection. Start by checking the status indicator on your printer’s control panel to ensure that it is connected to your network. If you’re using a web interface, try accessing it from your computer or smartphone by entering the printer’s IP address into a web browser. If you can access the interface, it means your basic WiFi connection is working. Next, open your 3D printing slicing software, like Cura or Simplify3D, and add your Tevo Tarantula printer to the software. You will need to configure the printer settings in the software, including the correct print bed size, nozzle size, and other relevant parameters. Once the printer is set up in the software, upload a simple test model, such as a calibration cube or a small object. Send the print job to the printer over WiFi. Monitor the print progress on the printer’s control panel or in the slicing software to ensure that the print job is being received and processed correctly. If the test print starts and completes successfully, your WiFi setup is working. If there are any issues, move on to the troubleshooting steps to identify and resolve them.
Troubleshooting Common WiFi Issues

Encountering issues with the Tevo Tarantula WiFi setup is not uncommon. However, most problems can be resolved with some troubleshooting. The first step is to verify that your printer is actually connected to your WiFi network by checking the network status indicator on the printer’s display. If it’s not connected, re-enter your WiFi password, making sure that you type it correctly. Incorrect passwords are the most common source of connection failures. Ensure that your router is broadcasting a 2.4 GHz WiFi signal, since the Tevo Tarantula typically only supports this frequency. Older routers or those configured to only broadcast on the 5 GHz band will not work. Also, check the distance between your printer and your router. Obstacles, such as walls and metal objects, can interfere with the signal strength. If the signal is weak, move the printer closer to the router. Another potential issue is IP address conflicts. Your printer might be assigned an IP address that is already in use by another device on your network. You can resolve this by assigning a static IP address to your printer. You may need to update the printer’s firmware or the WiFi module driver. Check the manufacturer’s website for updates and follow their instructions. If the problem persists, try restarting your printer, router, and the device you’re using to connect to the printer. This often clears temporary glitches. If all else fails, consult the Tevo Tarantula’s manual or contact the manufacturer’s support for further assistance.
Software Configuration and Slicing
Once the Tevo Tarantula WiFi setup is working, you will need to configure your slicing software. Slicing software is an essential part of the 3D printing process, as it converts 3D models into instructions the printer can understand. The most popular slicing software for the Tevo Tarantula includes Cura, Simplify3D, and PrusaSlicer. First, you must download and install the slicing software of your choice on your computer. Then, you will need to add your Tevo Tarantula printer to the software. To do this, you might need to select the printer model from a list, or you might have to manually configure the printer settings. In the settings, specify the printer’s build volume, nozzle size, and other relevant parameters. After adding your printer, you can import the 3D model you want to print into the software. The software will then allow you to adjust the model, scale it, rotate it, and position it on the print bed. Next, configure the slicing settings to optimize the print quality and speed. This includes setting the layer height, infill density, print speed, and temperature settings. Different materials require different settings. Once the settings are configured, you can slice the model, which generates the G-code instructions that the printer will follow. Finally, you can send the G-code to the printer over WiFi by using the IP address that you configured during the WiFi setup.
Printing Over WiFi
Printing over WiFi with your Tevo Tarantula offers significant convenience and flexibility. With WiFi enabled, you can send print jobs to your printer from any device on your network. Ensure that your printer is connected to your WiFi network and that the slicer software is configured. After preparing your 3D model in your slicing software, select the option to send the print job over WiFi. In the slicer software, you will be prompted to select your Tevo Tarantula printer and enter the printer’s IP address and port number. Once the G-code is sent to the printer, monitor the print progress on the printer’s display screen or through the slicer software’s interface. You can also often control the print process remotely from the software. During the print, ensure that your filament is feeding correctly and that the print bed is level. If you encounter any issues, such as filament jams or bed adhesion problems, you can pause the print and make necessary adjustments. Printing over WiFi enables you to monitor your prints from a distance. You can start and stop print jobs without being physically present. Make sure that the print environment is safe and that the printer is placed on a stable surface. This adds to the overall convenience and streamlines the 3D printing workflow. By utilizing WiFi, you enhance your 3D printing experience and increase the efficiency of your projects.
Optimizing Your Tevo Tarantula WiFi Setup
To ensure optimal performance and reliability, you can take a few steps to optimize your Tevo Tarantula WiFi setup. Start by ensuring your printer’s firmware and WiFi module drivers are updated. Keep your firmware current by checking the manufacturer’s website for updates. New firmware releases often include performance improvements and bug fixes. This helps to improve the overall reliability of your WiFi connection and 3D printing workflow. Also, ensure you have a strong and stable WiFi signal. If you experience connection dropouts, consider placing your router closer to the printer or using a WiFi extender. To avoid interference, place your printer away from other electronic devices that might emit radio frequencies. Regularly clean your printer’s hot end and bed. Dust and debris can affect print quality. Calibrate your printer regularly. Correct calibration ensures accurate prints and reduces potential issues. Experiment with different slicing settings to optimize print quality and speed. Optimize the slicing settings and find the ideal balance between print speed, quality, and material consumption. Consider using a dedicated computer or Raspberry Pi to control the printer. This provides a stable connection and removes the need to have a computer connected constantly. By following these steps, you can maximize the efficiency and reliability of your WiFi setup, resulting in a more satisfying 3D printing experience.