Unboxing Your Tevo Tarantula
Congratulations on purchasing your Tevo Tarantula 3D printer! Setting up your new 3D printer can seem daunting at first, but with this guide, you’ll be printing in no time. This comprehensive how-to guide will walk you through the entire setup process, from unboxing to your first successful print. Let’s start by unpacking your new 3D printer and familiarizing yourself with the contents. Carefully remove all the components from the box, ensuring you have enough space to work. Keep the box and packaging materials in case you need to return it, or if you need to repack it for storage.
What’s in the Box
Inside the box, you should find several key components. Typically, you will find the printer frame, a heated bed, the control board, stepper motors, endstops, a power supply unit (PSU), and various cables and screws. You should also have a small toolkit, including wrenches, screwdrivers, and possibly an SD card with pre-loaded test files and the printer’s firmware. Carefully check the contents against the included parts list to ensure everything is present. Take inventory of all the pieces to ensure that you can easily find them during assembly. If you are missing any parts, contact the vendor immediately to resolve the issue.
Identifying the Components

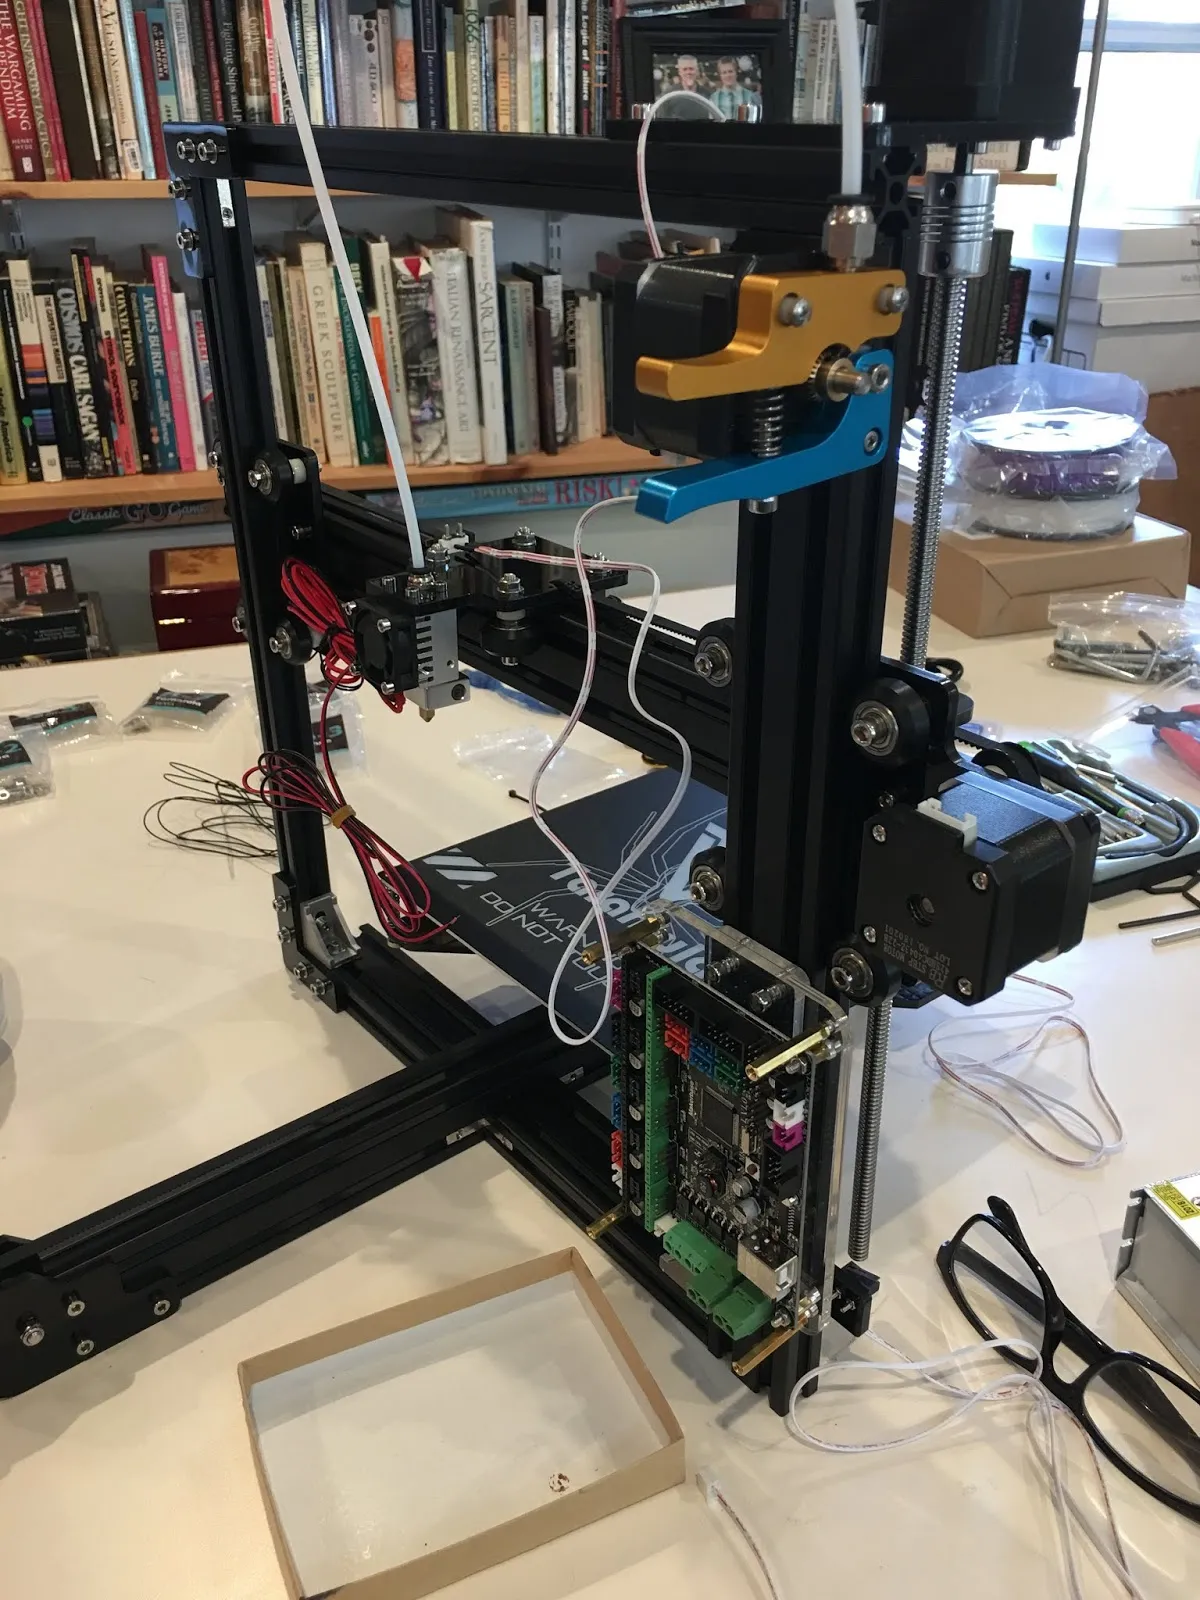
Before starting the assembly process, it’s crucial to familiarize yourself with each component. Identify the printer frame (usually made of aluminum extrusions), the heated bed, the control board (which is the brain of the printer), the stepper motors (responsible for movement), and the endstops (sensors that determine the printer’s limits). Familiarize yourself with all of the included wires, the PSU and the LCD screen. Laying all these components out in a clear space will make it easier to assemble the printer. Understanding the function of each part will also help during troubleshooting later on, making the entire experience a lot easier.
Assembling the Tevo Tarantula Frame
The Tevo Tarantula’s frame is the foundation of your 3D printer. Proper frame assembly is critical for print quality and stability. Begin by attaching the base to the uprights, ensuring they are square and aligned. Use the provided screws and wrenches to firmly secure the connections. Next, attach the X, Y, and Z axes components. Make sure that these axes are moving smoothly and without any binding. Ensure that the frame is sturdy and square; a well-assembled frame will minimize vibrations and ensure your printer operates as it should. Refer to the instruction manual during frame assembly.
Attaching the Base and Uprights
The base and the uprights are the primary structural components. Carefully align the uprights with the base and secure them using the provided screws. It’s important to ensure that the frame is square at this stage. The frame must be stable, because any looseness can lead to print defects and other quality issues. A square frame will ensure that the bed and the nozzle are aligned correctly. Use a level to make sure that everything is perfectly aligned.
Securing the X, Y, and Z Axes

Once the base and uprights are secured, the X, Y, and Z axes can be attached. These axes control the movement of the print head and the bed. Make sure that all axes move smoothly along their respective rails. Ensure that the belts are properly tensioned, as they are responsible for the movement. Over-tightening or under-tightening the belts can cause poor print quality. Examine each movement to ensure that it is fluid and free of any impediments. Proper axis alignment ensures that all prints are precise and accurate.
Wiring the Electronics
Wiring the electronics is one of the most challenging aspects of setting up a 3D printer. This includes connecting the power supply unit, stepper motors, and endstops to the control board. It’s important to follow the wiring diagrams carefully to avoid any short circuits or damage to the components. Take your time and double-check all connections before powering on the printer. Keep the wires neat and tidy; a well-organized wiring setup simplifies future maintenance and troubleshooting. Also, make sure that the wires are away from any moving parts.
Connecting the Power Supply Unit
The PSU provides power to all of the printer’s components. Carefully connect the PSU to the control board and the heated bed. Ensure that you’re using the correct voltage setting on the PSU (usually 110V or 220V, depending on your region). Double-check all the connections before plugging the power supply into a wall outlet. A properly connected PSU is vital for safe and reliable operation of the printer. Incorrect wiring can cause electrical shock or damage the printer.
Wiring the Stepper Motors

The stepper motors control the movement of the X, Y, and Z axes. Connect the stepper motor wires to the appropriate terminals on the control board. Ensure that you have the correct wiring order for each motor; otherwise, the printer’s movement will be inverted or incorrect. Double-check each connection to ensure it is secure. Proper wiring ensures accurate and precise movement.
Connecting the Endstops
Endstops are crucial for homing the printer and defining the limits of the print area. Connect the endstop wires to the control board. These sensors tell the printer when it has reached the end of an axis. They are an important safety feature, preventing the print head or bed from moving beyond its limits. Incorrect wiring can cause the printer to crash into its frame or bed. Therefore, be careful with these connections.
Configuring the Control Board
The control board is the central processing unit (CPU) of your 3D printer. It requires the correct firmware to function properly. The firmware determines how the printer will behave. Therefore, this step is extremely important to the setup process. You will need to flash the firmware onto the control board using a computer. This often involves connecting the board via USB and uploading the firmware using specialized software. Ensure you select the correct firmware for your specific printer model and control board. After flashing the firmware, you may need to configure the settings for your specific printer, such as the bed size and motor direction.
Flashing the Firmware

Flashing the firmware involves installing the correct software onto the control board. First, you will need to download the firmware for your Tevo Tarantula. You might be able to find the firmware online or in the manufacturer’s documentation. Use the provided software, such as Arduino IDE or other flashing software. After successful flashing, you can connect the board to your printer and start setting up the printer.
Leveling the Bed
Leveling the bed is one of the most critical steps for successful 3D printing. An unleveled bed can cause poor first-layer adhesion, which leads to print failures. Manually level the bed by adjusting the screws under the print bed. The printer will have a few adjustment screws; these screws determine the bed level. You can then use the printer’s auto-leveling feature (if your printer has it) or manually level it using a piece of paper. Make sure the nozzle is the correct distance from the bed across all points. This will ensure good adhesion and improve print quality.
Calibrating the Z-Offset
The Z-offset is the distance between the nozzle and the bed when the printer is at the Z-zero position. It is adjusted to ensure the first layer is neither too far from nor too close to the bed. A properly calibrated Z-offset is crucial for the first layer to stick to the bed. Use a piece of paper or the provided settings to adjust the Z-offset. When it’s set correctly, the nozzle should gently press the paper as it moves across the print bed. Fine-tuning the Z-offset is crucial for first-layer adhesion.
Heating the Bed and Nozzle

Before loading the filament, it is necessary to heat the bed and the nozzle to the correct temperatures. Refer to the filament manufacturer’s recommendations for the best temperatures. Most filaments need the bed and nozzle to be at different temperatures. Make sure that the printer heats both the bed and the nozzle up to the correct temperatures for your specific filament. This is essential for proper melting of the filament and good adhesion to the print bed. Allow sufficient time for the bed and nozzle to reach the target temperatures before proceeding.
Loading the Filament
Once the nozzle has reached the correct temperature, you can load the filament. Insert the filament into the extruder and feed it through the hot end. Ensure the filament is feeding smoothly and evenly. Once the filament starts to extrude, you can proceed with the first print. Choose the correct filament size for your printer. The filament should flow smoothly through the nozzle. If there is any resistance, there could be a clog. You might want to replace the nozzle in this case.
First Test Print
After you’ve set up the printer, it’s time for your first test print. Select a test print from the SD card or use the printer’s controls to load and start a test print. Observe the printer during the first few layers, checking for good adhesion and any potential issues. This will allow you to identify and correct any issues before starting more complex prints. If your first print fails, there might be a few things that need to be adjusted. Once you are happy with your first print, you can move on to larger and more complex items.
Troubleshooting Common Issues

Even after carefully following all of these steps, you may encounter some issues. Troubleshooting is a common part of 3D printing. Many problems can be fixed relatively easily. If you encounter issues, don’t panic. Here are some common problems and their solutions. Refer to online resources, forums, and communities for additional support. Troubleshooting requires patience and persistence, but the rewards are well worth the effort. Knowing how to troubleshoot issues is essential.
Nozzle Clogging and Filament Feeding Problems
Nozzle clogs are a common issue. They can occur if the filament is not feeding correctly or if it has debris in it. If the filament is not extruding, you can try cleaning the nozzle with a needle or a specialized tool. Ensure that the filament is feeding smoothly. The temperature of the nozzle also plays an important role, so make sure that it is not too hot or too cold. You may need to replace the nozzle if it is badly clogged. Keep the printer clean and free of dust and debris to prevent future clogs.
Bed Adhesion Issues
Bed adhesion is one of the most common challenges that 3D printer users face. If the first layer of your print does not stick to the bed, the print will fail. Ensure that the bed is clean, level, and at the correct temperature for your chosen filament. You may need to use adhesive to help the print stick to the bed. Applying painter’s tape or using glue sticks can help with bed adhesion. Make sure to check the Z-offset. If the nozzle is too far from the bed, the filament will not stick. If the nozzle is too close, it will not extrude properly. Optimizing the bed adhesion will significantly improve the success of your prints.
Layer Shifting and Print Quality Problems

Layer shifting occurs when the layers of the print are not aligned correctly, usually due to mechanical issues. Ensure that the belts are properly tensioned and that the stepper motors are receiving enough power. Make sure that the frame is stable and that the printer is not vibrating during printing. Print quality problems, such as warping, stringing, or blobs, can often be resolved by adjusting the print settings, such as the print speed, temperature, and retraction settings. Fine-tuning these settings can often improve the overall quality of your print. Experimenting with these settings will help you achieve the desired results. By troubleshooting and experimenting, you can greatly improve your printing experience.